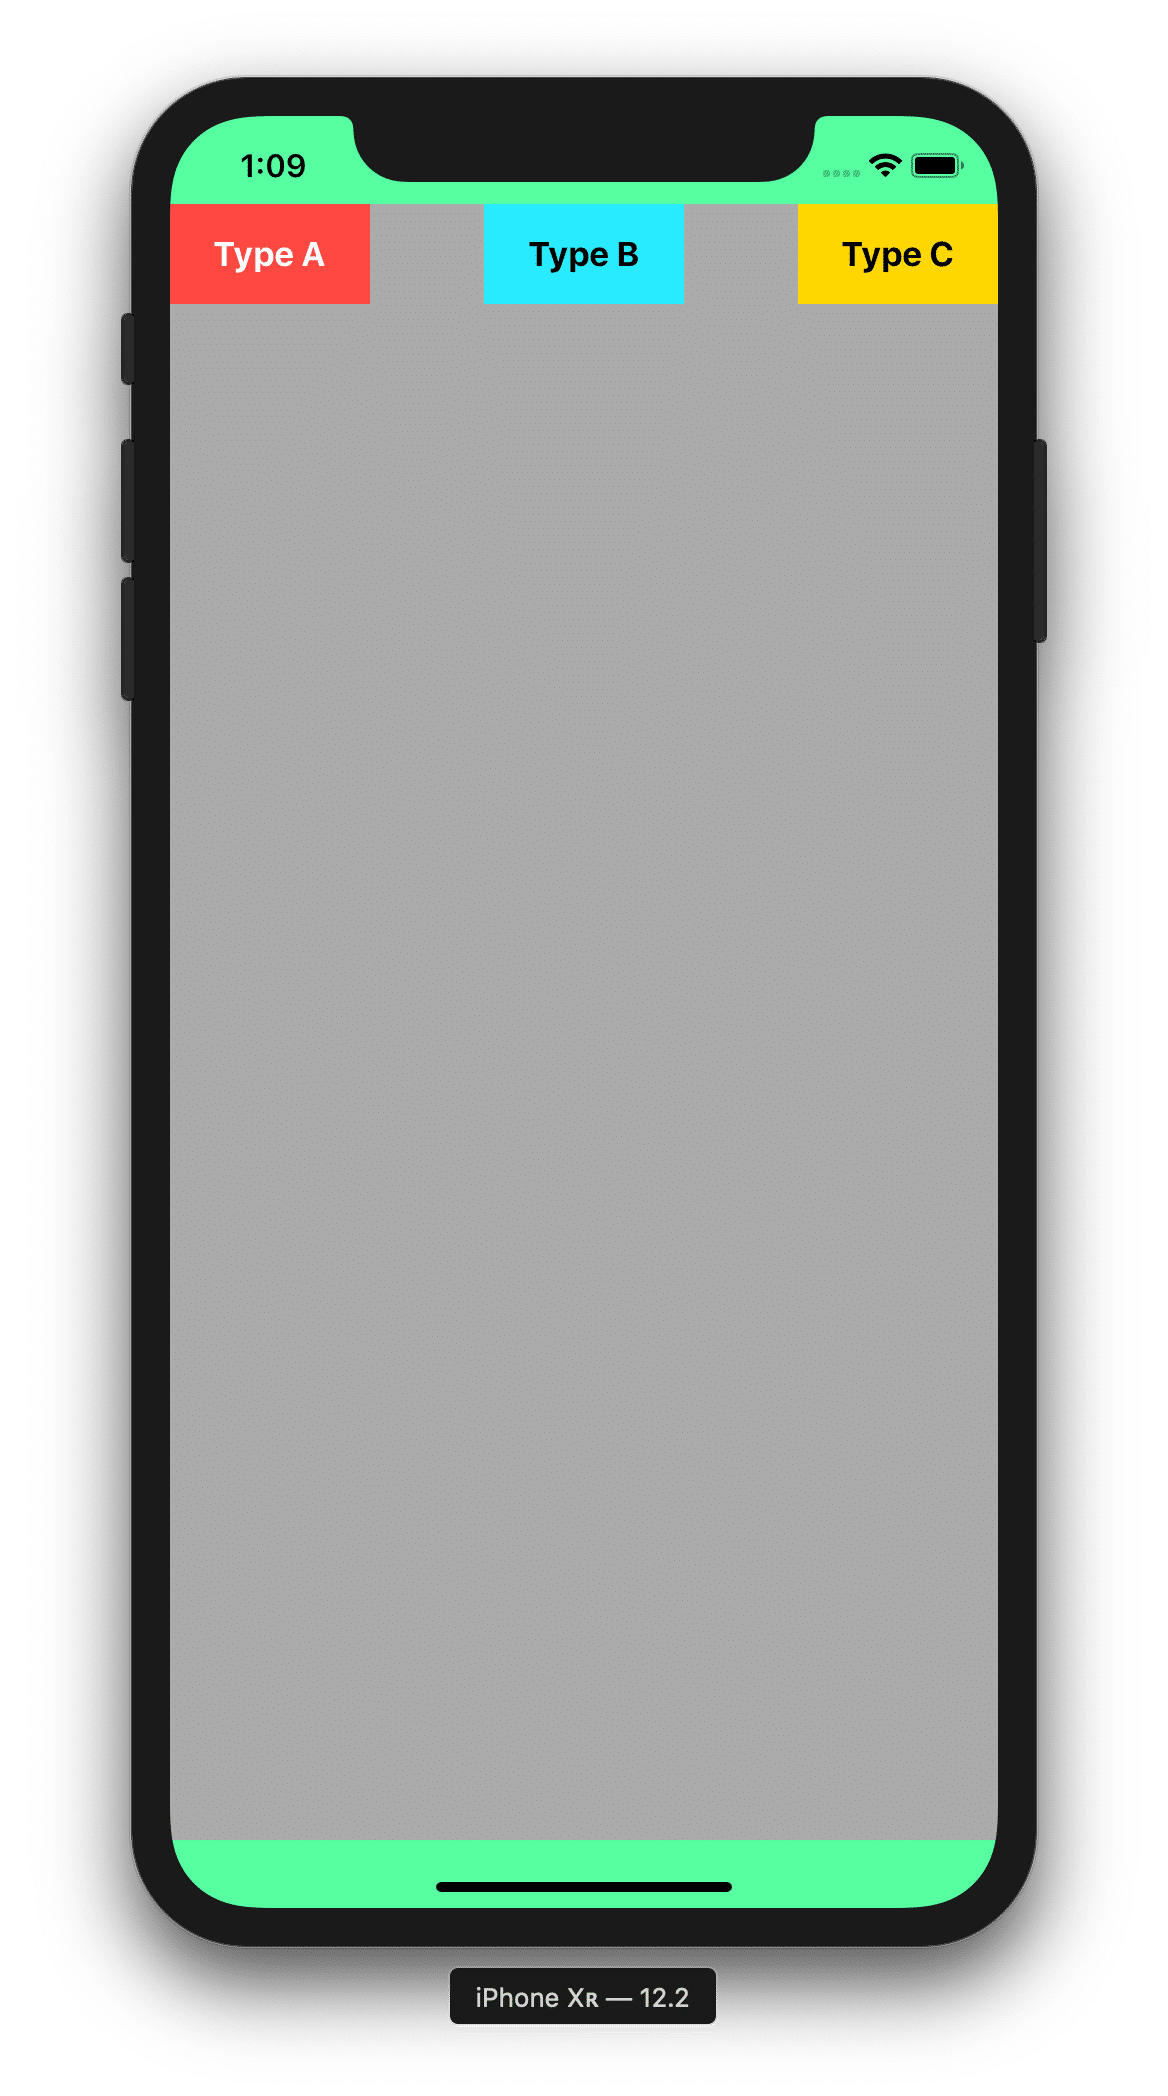
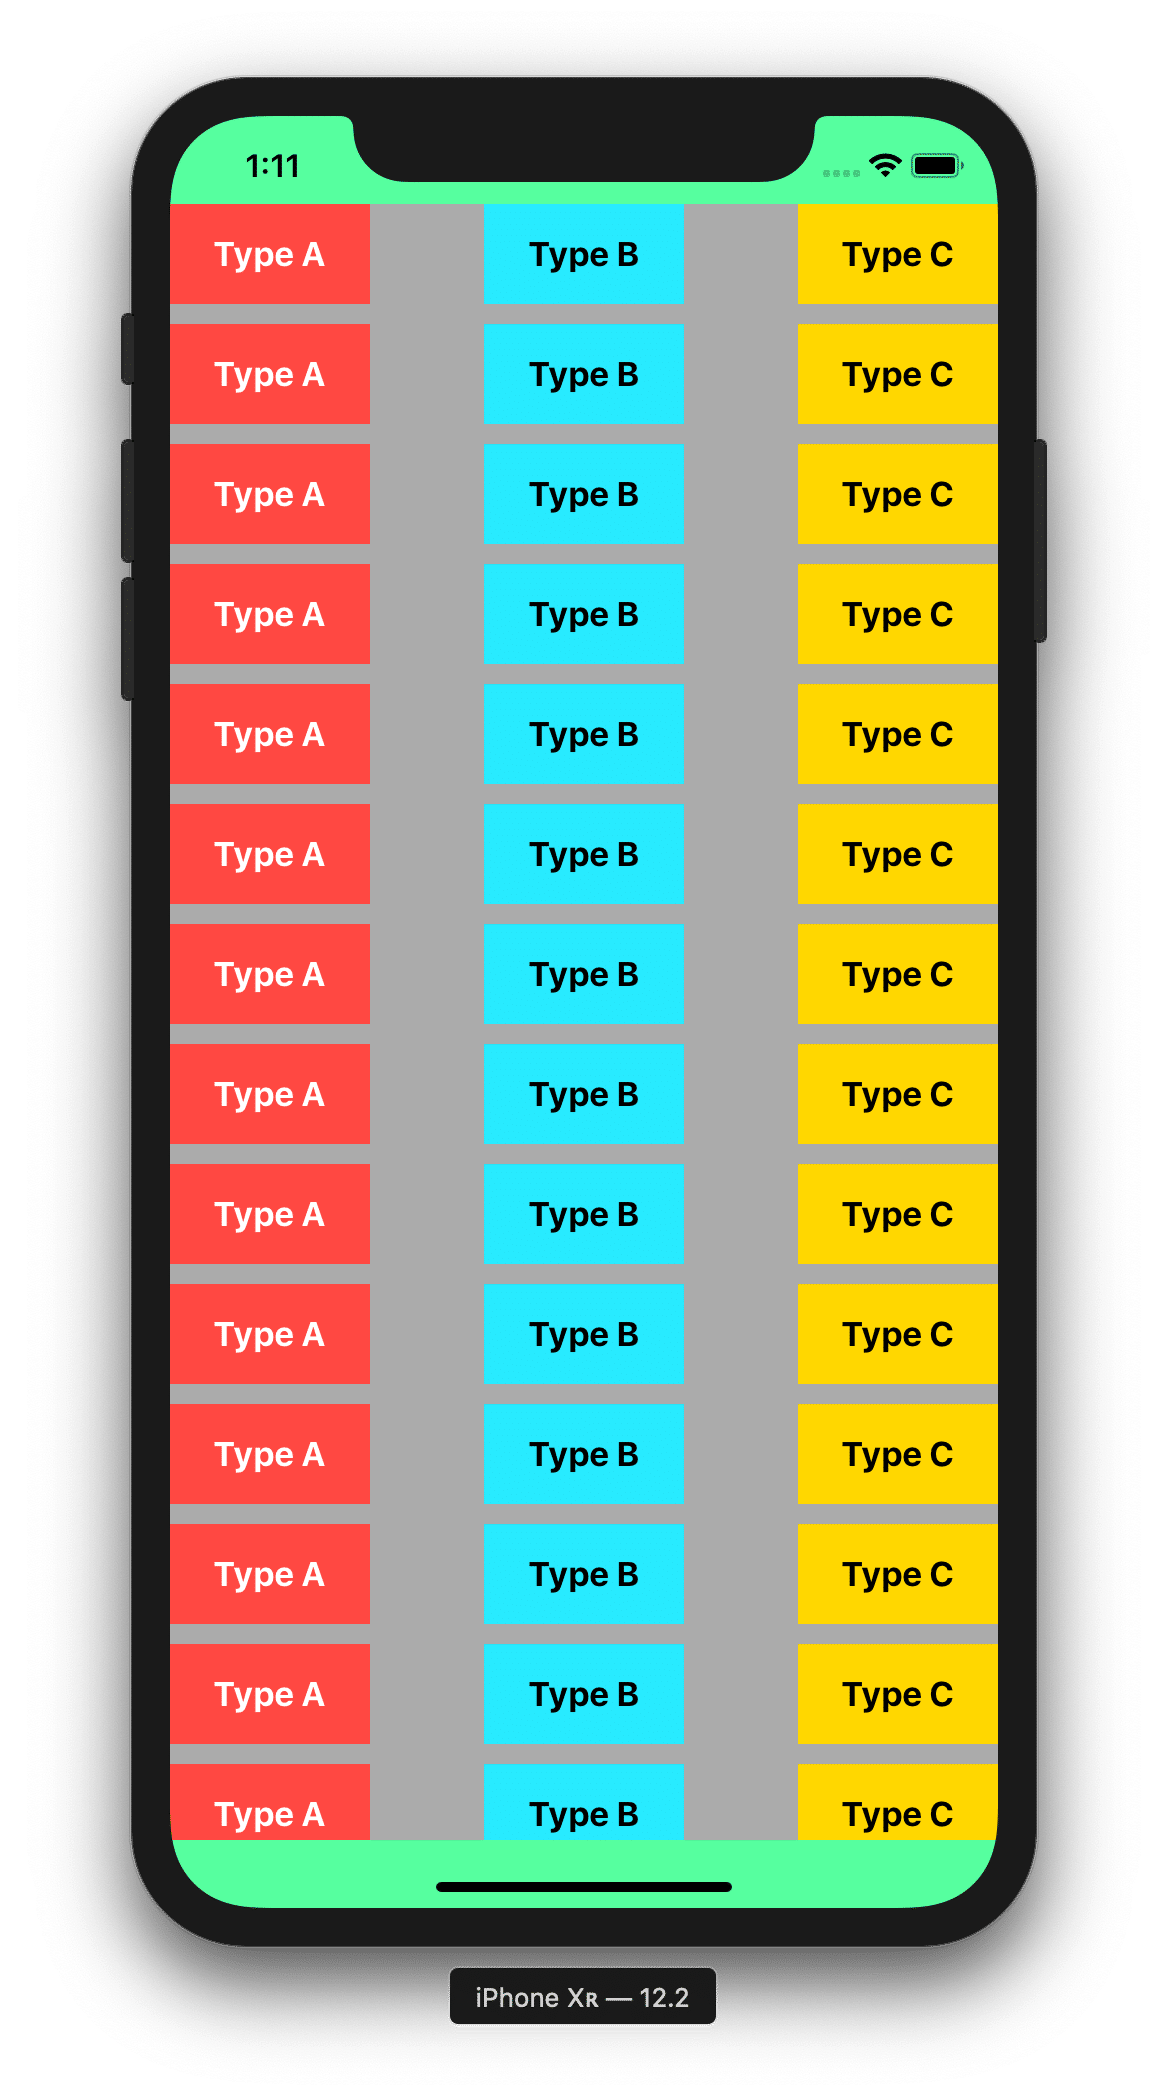
A UICollectionView is a way of arranging a content grid or a list of subviews (UICollectionViewCells) in a scrollable view. Collection views are ubiquitous: Instagram’s Search page, Chrome’s tabs overview, or your Favourites lists on media streaming services like Netflix and Crave. All of these examples use a UICollectionView to display cells.
For this article, I’ve been working with Clearbridge Mobile iOS Developer, Conor Masterson, to learn about collection views and resolving the issue of code clutter that sometimes happens when recycling UICollectionViewCells. This post will specifically explore how to implement a protocol for brevity in collection view code. Credit goes to Conor for writing the sample application that goes along with this article. If you’d like to look at the full configuration code, there is a GitHub link at the end of the post.
UICollectionView Structure
Before we dive into avoiding cell verbosity, let’s breakdown the structure of a UICollectionView. There are two central collection view components: UICollectionView and UICollectionViewCells.

UICollectionView: the focal view displaying cell content, which is comparable to aUITableView. Much like a table view, a collection view is aUIScrollViewsubclass.UICollectionViewCell: Again, this component is like aUITableViewCellin a table view. These cells display content and are subviews within the collection view.
iOS applications need to know what cell type is designated to a given position in the collection view. It’s up to the programmer to provide an instance of that cell type, set it up and then hand it back to the collection view.
Recycling Cells in UICollectionView
Collection views can hold 1000 (or more) items. That’s a lot of cells to hold in memory, so iOS nixes that idea. iOS applications hold just enough cells to supply the content visible on the screen and use a small buffer so when a user scrolls, additional content is ready immediately. UICollectionView recycles the cells that move off screen for the new cells a user sees as they continue scrolling.
When the collection view needs a new cell, a programmer needs to figure out what cell type is necessary and prompt the collection view to provide an instance of that type. The collection view handles if it can recycle an old instance or create a new one for the programmer to use.
Cell recycling looks something like this:
Let nextCell = collectionView.dequeueReusableCell(withReuseIdentifier: "Cell Reuse Identifier", for: requestedIndexPath)Cell Verbosity and Overcomplexity
For the collection view to know what cell relates to “Cell Reuse Identifier,” we have to register the cell with the collection view.
collectionView.register(UINib(nibName: "Cell Nib Name", bundle: nil), forCellWithReuseIdentifier: "Cell Reuse Identifier")
The example above has to be written for every cell type.
collectionView.register(UINib(nibName: "Cell Nib Name A", bundle: nil), forCellWithReuseIDentifier: "Cell Reuse Identifier A")
collectionView.register(UINib(nibName: "Cell Nib Name B", bundle: nil), forCellWithReuseIdentifier: "Cell Reuse Identifier B")
collectionView.register(UINib(nibName: "Cell Nib Name C", bundle:nil), forCellWithReuseIdentifer: "Cell Reuse Identifier C")
It gets ugly quick; however, a solution is to write code that allows you to do this instead:
collectionView.register([TypeACollectionCell.self, TypeBCollectionCell.self, TypeCCollectionCell.self])
Registering cells this way is a lot neater and easier to read. It removes the literal strings (“Cell Reuse Identifier A”), and if you have to change a reuse identifier, you only have to make the change in two places – opposed to two-plus (wherever it’s used) places.
Cleaning Up a UICollectionView with a Protocol
To remove some of the clutter, the first thing to do is define a Protocol. The protocol we need to define for this exercise is pretty simple:
Protocol RegistrableCell: UICollectionViewCell {
	static var nibName: String { get }
	static var reuseIdentifier: Strong { get }
}
This protocol is called RegistrableCell. It can only be applied to UICollectionViewCells and their descendants. It contains two properties: nibName and ReuseIdentifier. Both properties are strings that you can retrieve the value of, but not change.
Next, the collection view cell types need to conform to the protocol. Let’s use TypeA as an example:
class TypeACollectionCell: UICollectionViewCell, RegistrableCell {

	static var reuseIdentifier: String {
		return "TypeACollectionCell"
	}
	static var reuseIdentifier: String {
		return "TypeACollectionCell"
	}
}
The strings are static because they’ll never need to change while the app is running and we need to be able to read them before we create an instance of TypeACollectionCell. This code is written for each cell type in the UICollectionView.
Finally, we need to let the collection view register RegistrableCell types, which requires us to extend UICollectionView.
extension UICollectionView {
	func register (_ nib:RegistrableCell.Type) {
		self.register(UINib(nibName: nib.nibName, bundle: nil),
forCellWithReuseIdentifier: nib.reuseIdentifier)
	}

	func register(_ nibArray:[RegistrableCell.Type]) {
		nibArray.forEach {
			self.register($0)
		}
	}
}
In the first function, we declare a RegistrableCell and it uses the strings defined in the protocol so the collection view registers normally. The second function takes an array and leverages the first function to register all the cells in that array.
Code quality is an essential property of successful software products. Finding logical ways to improve brevity improves the readability of your code, which in turn raises code quality overall. Well-written code avoids overcomplexity to reduce risk so changes, maintenance, and adjustments require little effort for the programmer. Using a protocol to register and recycle cell types is a smart way to write clean and highly readable collection views.
You can find the sample application on Github, here.


